*Blog contains amazon affiliate links.
Better Images Class - REDI, Columbia
Earlier this year, I had the opportunity to teach a workshop for REDI entrepreneurs on creating stronger images for their businesses and brands. As a branding photographer, I absolutely believe professional brand photography is one of the best investments you can make. But I also know that not every business is ready for that investment yet. After all, even those with a library of professional images still need fresh content for weekly specials, behind-the-scenes moments, product launches, and day-to-day marketing.
That's why learning a few simple photography techniques can make such a big difference.
One of the biggest takeaways from my workshop is that you don't need an expensive camera or a studio full of lighting equipment to create polished, eye-catching images. While professional gear can certainly make things easier, it's far from essential. In fact, we create most of the images (and even some video) during that class with flashlights, foam board, and even a bike headlight!
Before you start snapping photos, though, a little preparation goes a long way. Taking time to plan your shoot, gather the tools you'll need, and collect props that help tell your brand's story will make creating content much easier. Thoughtfully styling your scene can transform an ordinary photo into one that feels polished, intentional, and engaging.
GET ORGANIZED
To start, you'll want to pull everything together in the same place. I recommend grabbing a large tub and maybe a couple of smaller boxes for those tiny accent pieces. Organization is key!
Then, you're going to gather the basics: gaffers or painter's tape, binder clips, lens cloth, sticky tack, and scrapbook/foil paper.
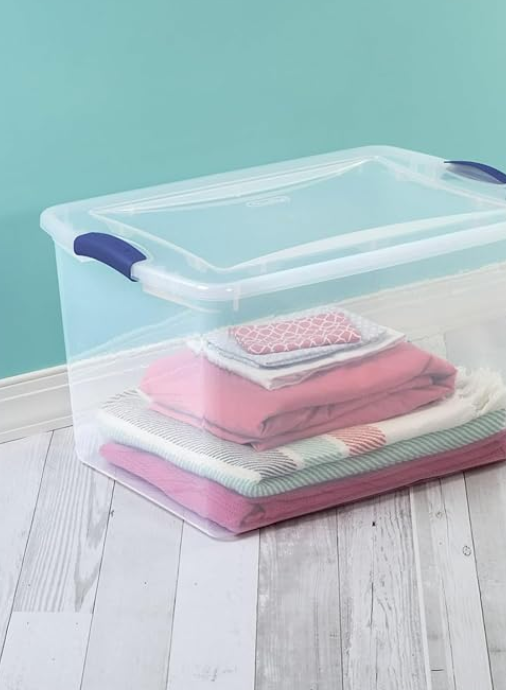
Portable Storage
Large Tub
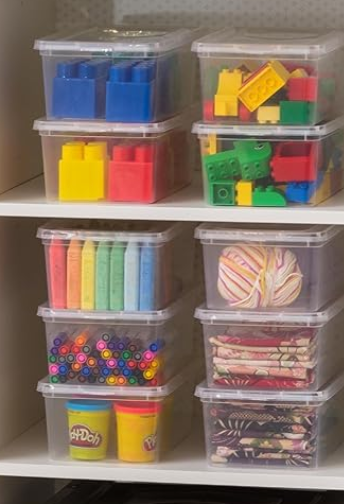
Small Parts
Small Box
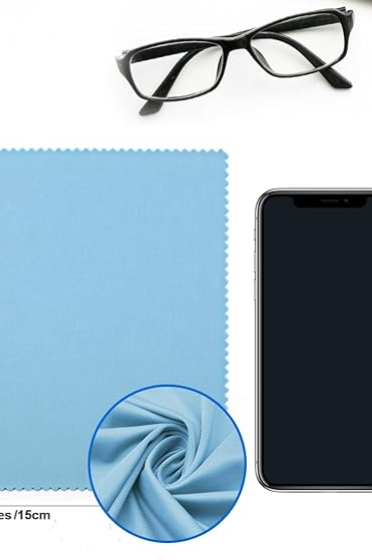
Grip Kit
Supplies
Gear
Now that you have a dedicated space for keeping your supplies, let's talk about what you'll actually need to get started.
The exact setup will vary depending on what you're photographing—whether it's products, food, handmade goods, or a service—but the basic equipment is primarily going to be the same. The most important element, by far, is light. Consistent, quality lighting is what will make your images look polished and professional.
The size of your subject will determine the size of your light source. Larger products or scenes generally require larger, softer light sources, while smaller items like jewelry, candles, or baked goods can often be photographed beautifully with something as simple as a flashlight or desk lamp. As your business grows, you can always upgrade your equipment, but don't let a lack of fancy gear stop you from creating great content today. Eventually, you can upgrade your equipment to grow with your needs.
Gear up
Start small, cheap, and simple with the basics like a clip-on desk lamp. Or, if you can invest just a bit more, try out an LED light panel for fun color content. (Reminder: these are not needed from day one. Invest when you can.
Don't forget, most important of all, you'll need a tripod to stabilize your phone every time!
Lastly, if photographing highly reflective items, a tabletop light box can help you to reduce glare.
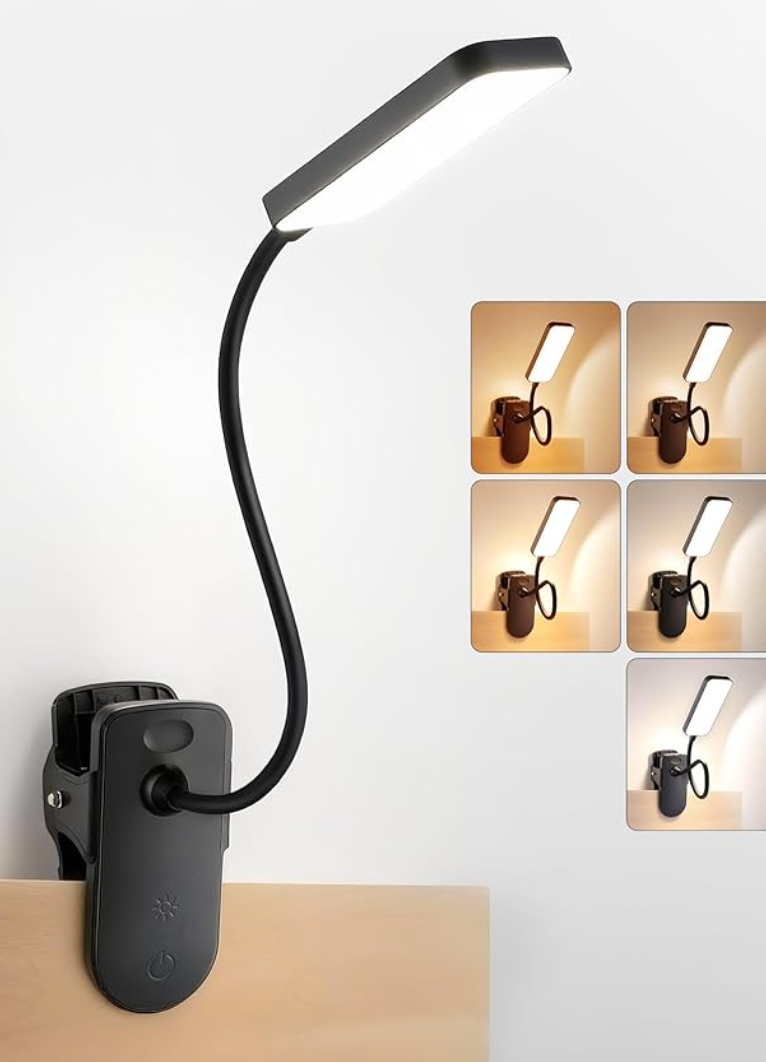
Simple Portable
desk lamp
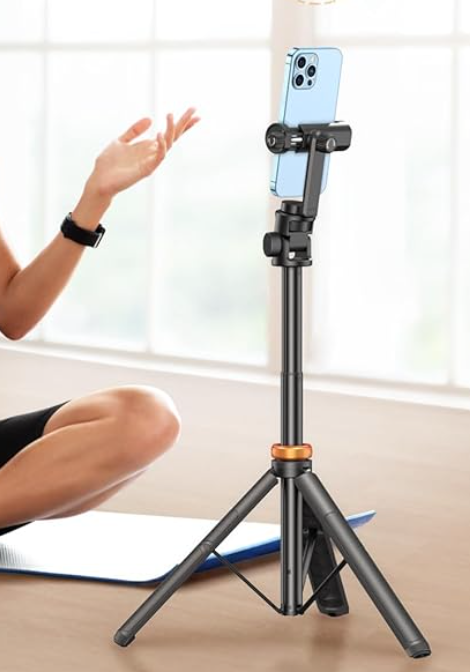
Sturdy
TriPOD
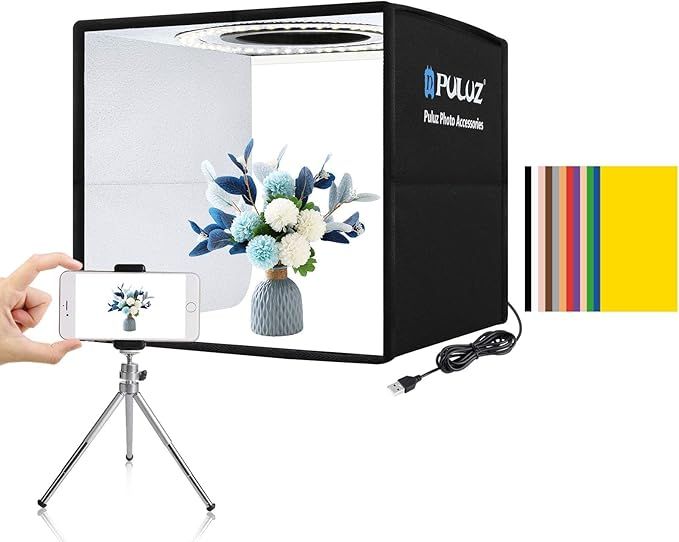
Tabletop
light box
Styling!
Now comes the fun part.
Styling your images, instead of simply photographing a single item on its own, creates more visually interesting content that captures attention and tells a story. You don't need elaborate setups, either—start simple.
Take a photo of your subject as-is, then add or reposition one element and photograph it again. Next, change your camera angle or adjust your lighting and capture another version. Small changes can make a dramatic difference, and experimenting with different compositions will help you discover what works best for your brand. Don't be afraid to explore your subject. You'll often find your favorite image is one you weren't planning to take.
Style & accessories
Surfaces first! You may source everything from faux wood paneling, contact paper (applied to foam board), ivy wall panels or mirrored board to create the micro scenes you want.
Now, have fun adding and sourcing everything from placemats to floral varieties. There's no end to what you can pop into your images for added texture and depth.
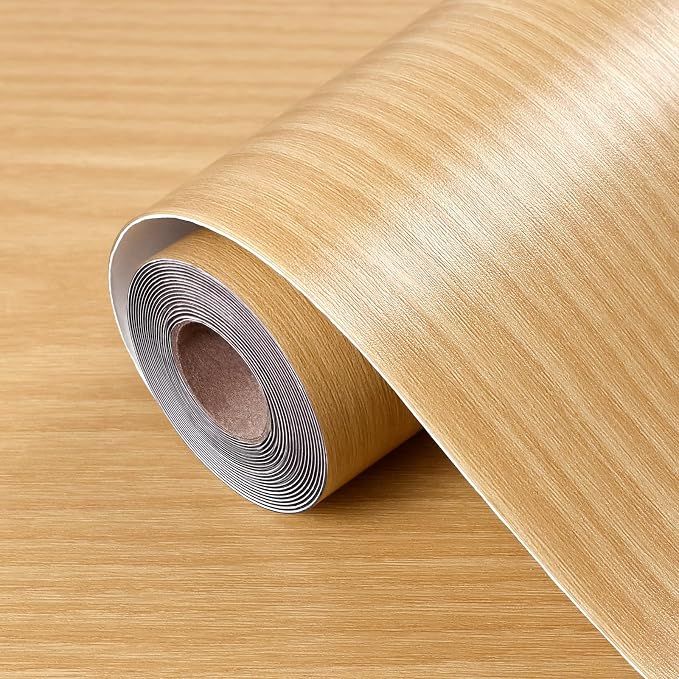
Simple Replacable
contact paper
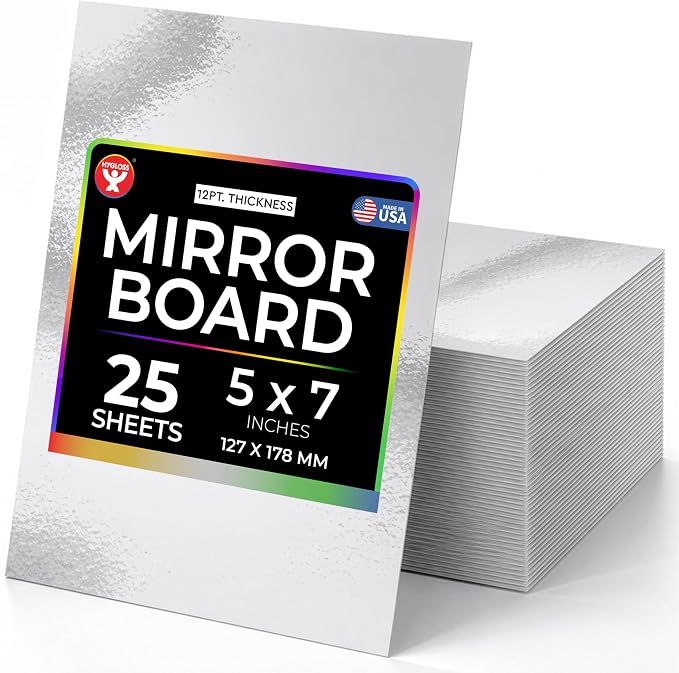
Versatile
mirrored board
Extra Visual
